Easier than I thought - One Day Radon Mitigation install for Minnesota House
by Doug Z
(Champlin, MN)

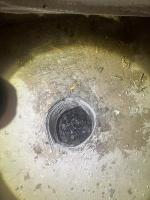
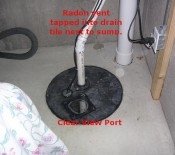
Started at existing Sump Hole - we do not have a sump pump in our house. I covered the hole with .220 thick sheet of Acrylic and will place a piece of ply over to protect.
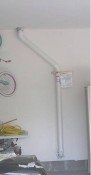
4-inch PVC pipe ran through basement rafters to garage next to existing furance vents
Purchased the 4-inch fire barrier to protect my home
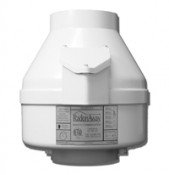
RP145 fan installed in garage attic space. Note I ran the electrical after this picture was taken. Extension cord was temporary.
With a little upfront planning and consultation from Mr. Riedman, my Radon Mitigation system was installed and functioning in about 8 hours. I ran the electrical box myself the next evening, but this didn't take very long.
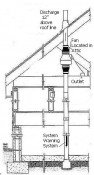
My home used the existing sump hole and the drain tile system to vent the radon out through the attached garage. I am getting excellent air flow from this set-up. Currently I am running the follow-up radon test to determine how effective the system is.
I purchased the RP145, the fire barrier ring, fan install kit, roof flange, and a few of the other critical components from the Healthy Air Store. The shipping was exceptionally fast and the parts were accurate to my order.
I purchased the 4-inch PVC and fittings from a local big box store and only had to use simple tools. Hammer, screw driver, hack saw, electric drill, rasp.
My system cost me about $400 compared to hiring a professional which started at $1400 minimum.
If you are questioning whether to DIY or not, I suggest the DIY route using the resources found here.