

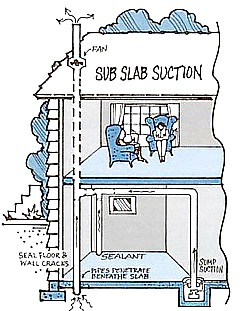
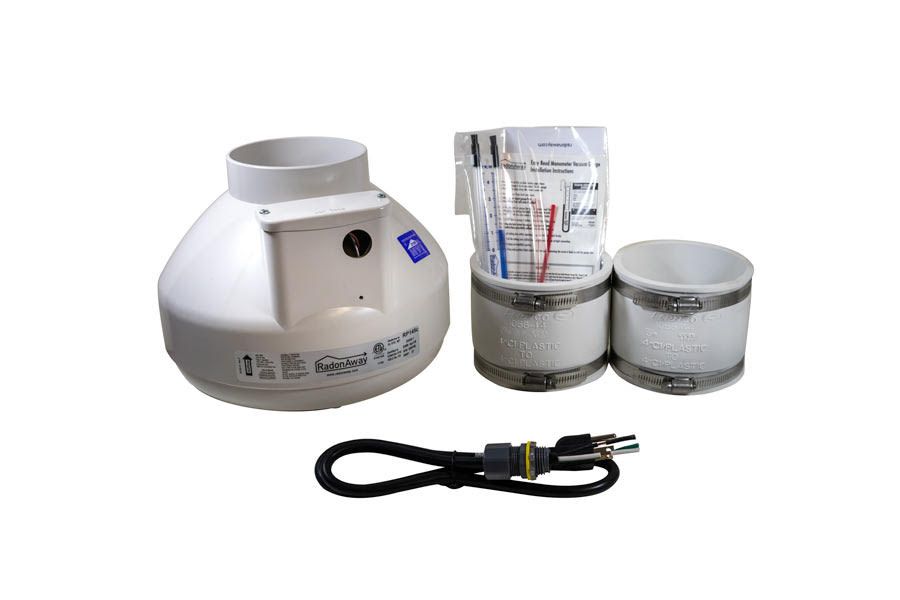
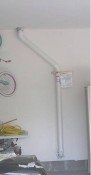
The radon pipe that vents radon gas from a building is a very important component of a radon abatement system. The radon mitigation pipe system must be completely sealed so that this cancer causing gas isn't forced back into the home. Note: If your home has a radon pipe and want to install a fan please see this info...
Hence, typical air venting ducts are not used. The most commonly used material is PVC pipe like that used for drain and vent pipe for plumbing. Although the specifications allow for schedule 20 PVC, I would strongly recommend using schedule 40 PVC which is much stronger and less apt to crack or break open. Schedule 40 pipe also insulates better and is thus quieter.
When radon is suctioned from below the home concentrations can easily reach into the hundreds of pCi/L or even thousands. Simple stated you don't want this pipe to get a hole in it.
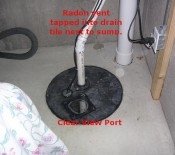
Another reason for using plastic pipe is because there will be condensation created. So the radon pipe will have to be sloped to drain the water back into the soil. If improper slope isn't maintained a build up of water in the vent will create unwanted noise and could reduce or even stop the air flow.
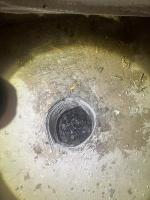
I recently repaired a do-it-yourself system that was installed with
galvanized 6" round duct(very leaky). Before the homeowner started the
project the level was 14pCi/L and afterward the level had climbed to
41pCi/L!
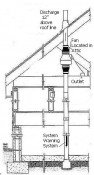
Another important aspect of the radon piping installation is that it must vent 12" above a roof of the building,
not highest roof or above the peak is required. Also the pipe must be
at least 10 feet from any windows or skylights that can be opened, this
can be disregarded if the pipe is 2' above the opening. A common bad
practice is to install a pipe out the side of the house like you would
vent a furnace or a dryer vent. This would allow the possibility of the
radon reentering through the sill plate or open windows.
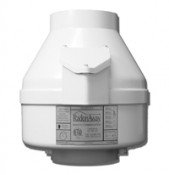
A
properly installed system must have the fan installed outside of the
living space. A garage, attic or the side of the home would be
appropriate for fan placement.
Please visit our DIY radon store for more technical guidance.
These are just some basic guidelines for running a radon vent pipe.
If you have questions please contact me...
If you are considering a do-it-yourself radon installation please review this information.
Radon Mitigation Diagrams & Photos | Radon Mitigation Design Considerations | Vent Pipe Guidelines | Choosing a Radon Fan | Radon and Crawl Spaces | Radon and Sumps
Design Pages |
Mar 21, 24 06:46 PM
Feb 17, 24 10:17 AM
Dec 11, 23 11:08 PM
By Val Riedman Copyright © 2007-2022 Indoor-Air-Health-Advisor.com
Build Your Own Website with Solo Build It!

New! Comments
Have your say about what you just read! Leave me a comment in the box below.